
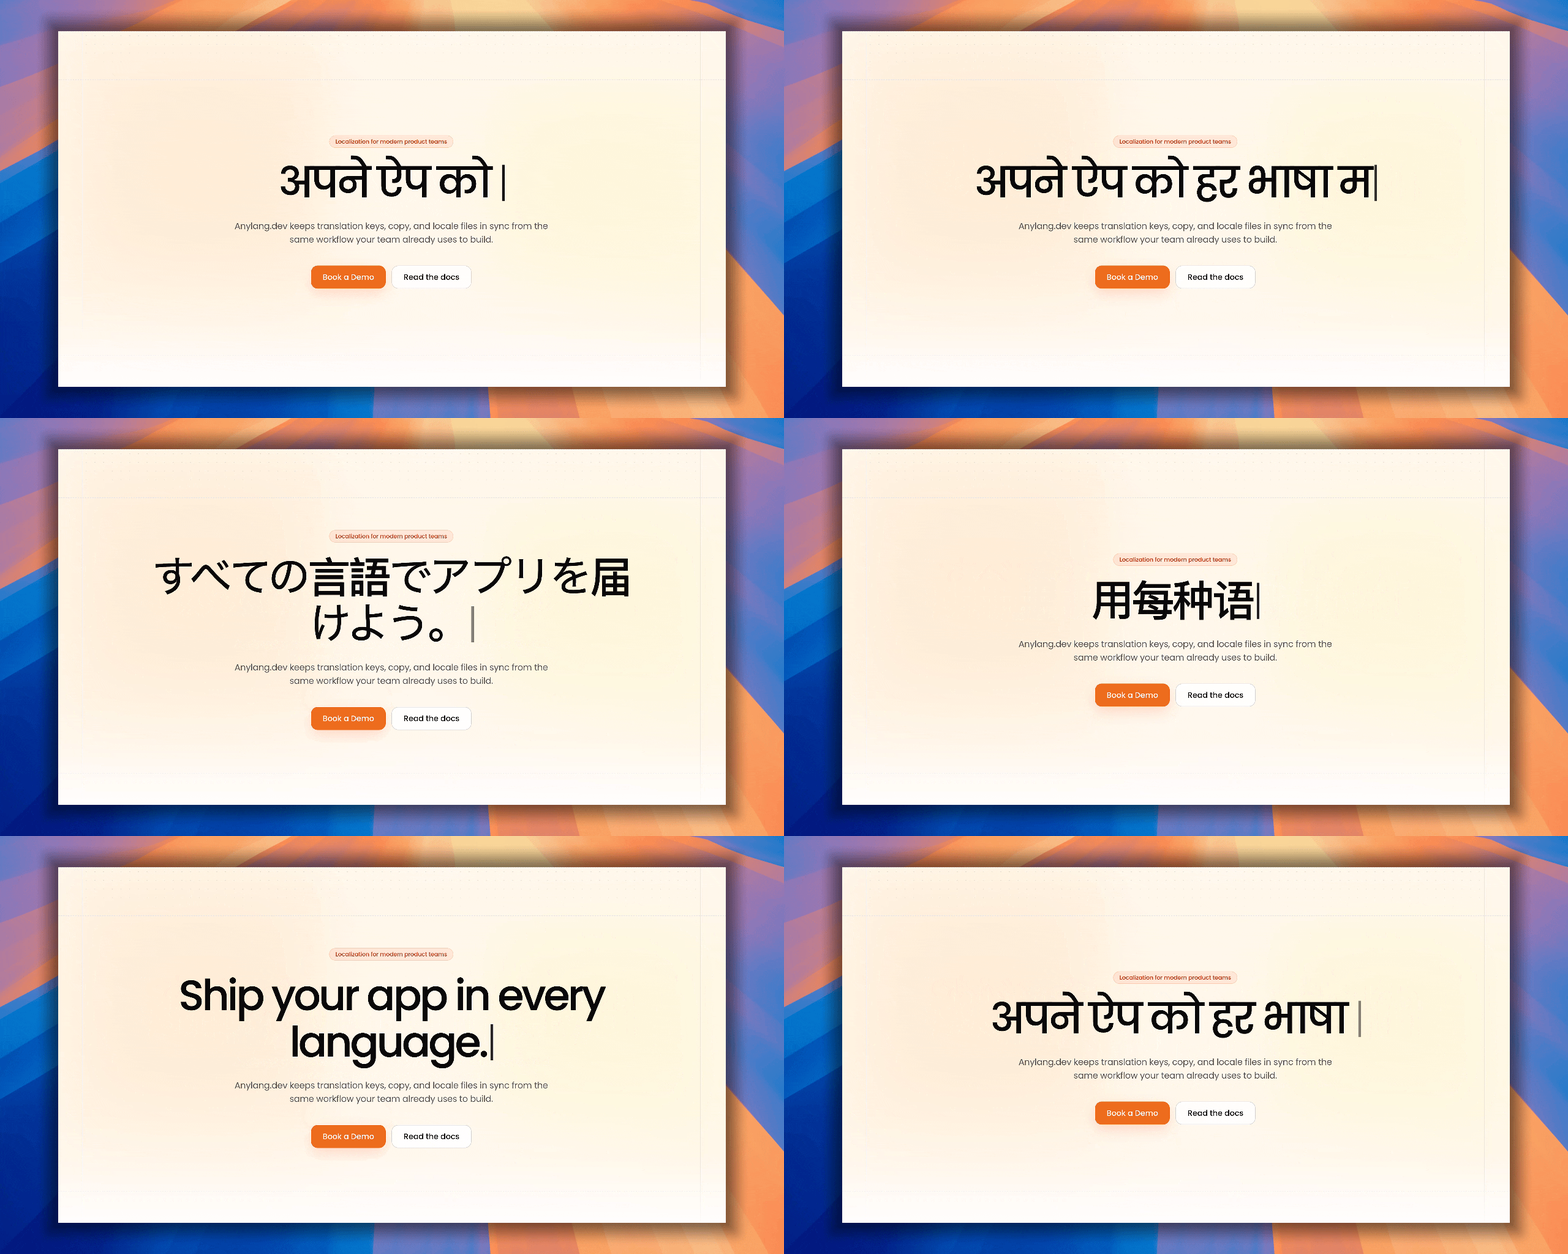
A bring-your-own-key website translation CLI with Vite and Next.js support. It automatically scans your React components, extracts text, and translates them using your own AI provider keys (Gemini, OpenRouter, Anthropic, OpenAI, Mistral, and more).
📖 Read the full documentation at anylang.mintlify.app
npm install --save-dev anylang-dev
npx anylang initVite:
Add the plugin to vite.config.ts:
import anylang from "anylang-dev/vite";
import react from "@vitejs/plugin-react";

export default defineConfig({
  plugins: [anylang(), react()],
});
Next.js:
Wrap your config in next.config.mjs:
import anylang from "anylang-dev/next";

export default anylang({ runtimeImport: "@/anylang" })({});
(If you use TypeScript, add import "anylang-dev/jsx-runtime"; to your global d.ts file).
Just write normal text. No need to wrap everything in translation functions. To explicitly skip translating a string, just add tr="false".
<h1>Translate your website with anylang</h1>
<p tr="false">This text stays exactly as it is</p>Extracts strings and generates your locale JSON files and runtime helpers.
npx anylang scanAdd your AI provider key to .env (e.g., GEMINI_API_KEY=your-key) and run the translator.
npx anylang translateNote: anylang is BYOK. It securely loads your .env locally, directly calls the AI, and does not proxy requests or track usage.
Wrap your app in the provider and use the generated hooks for dynamic text or language selection.
import { AnyLangProvider, useTr, useLanguage } from "@/anylang";

// 1. Wrap your app (Root layout or entry point)
<AnyLangProvider>
  <App />
</AnyLangProvider>

// 2. Translate dynamic text
function SaveButton() {
  const $tr = useTr();
  return <button>{$tr("actions.save", "Save")}</button>;
}

// 3. Build a language selector
function Selector() {
  const { language, setLanguage, languages } = useLanguage();
  return (
    <select value={language} onChange={(e) => setLanguage(e.target.value)}>
      {languages.map(l => <option key={l.code} value={l.code}>{l.nativeLabel}</option>)}
    </select>
  )
}